Learn how to Collect Open Source Threat Intelligence
What is MISP?
A threat intelligence platform for sharing, storing and correlating Indicators of Compromise of targeted attacks, threat intelligence, financial fraud information, vulnerability information or even counter-terrorism information. Discover how MISP is used today in multiple organisations. Not only to store, share, collaborate on cyber security indicators, malware analysis, but also to use the IOCs and information to detect and prevent attacks, frauds or threats against ICT infrastructures, organisations or people.

Why use MISP?
MISP is an excellent source of Open Source Intelligence (OSINT), which can be used in conjunction with other cybersecurity tools to enrich the threat detection capabilities to aid a security team. MISP can be used to feed IOCs to an SIEM, such as Wazuh, to aid in the detection of potentially risky domains, IP addresses and hashes, which can be used to trigger alerts.
How to Install MISP
There are several deployment configurations for MISP; I’ll be demonstrating how to do it using Docker, however, it does support native installation to Ubuntu as well. For demonstration purposes (and for home lab users), I’ll be using Docker. I would suggest Ubuntu for Production systems.
Pre-requisites
- Linux server (Ubuntu/Rocky)
- Docker Installed
- Git installed
Step-by-Step Guide
- Connect to your Linux server
- use the below link to download the docker-compose file
https://drive.google.com/file/d/1caKj8vVnnScyX0qg5TBHaB9cU_ZHqiVO/view?usp=sharing
3. Download and extract the rar file you can see the following files in the folder

4. Now rename template.env to .env and edit the file either using nano or Vi
5. Edit the following section replacing the email, org, password and base_url with your desired settings.

6. Pull the images
docker compose pull

Note, that if you are running Portainer on this server, the MISP docker-compose file will appear as a stack. Note, that as this was built outside of Portainer, it will have limited control over the stack.

Now let’s configure MISP
- Log in with the settings you configured earlier for email and password
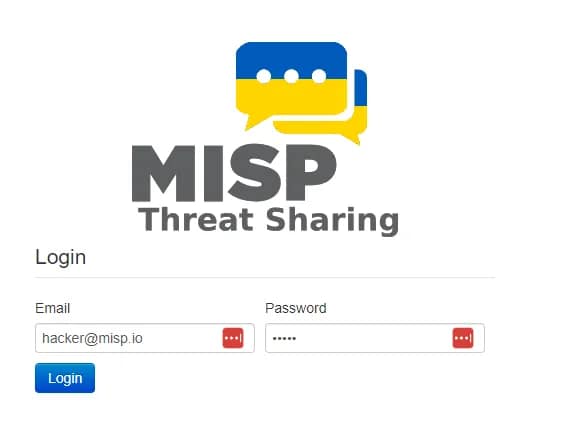
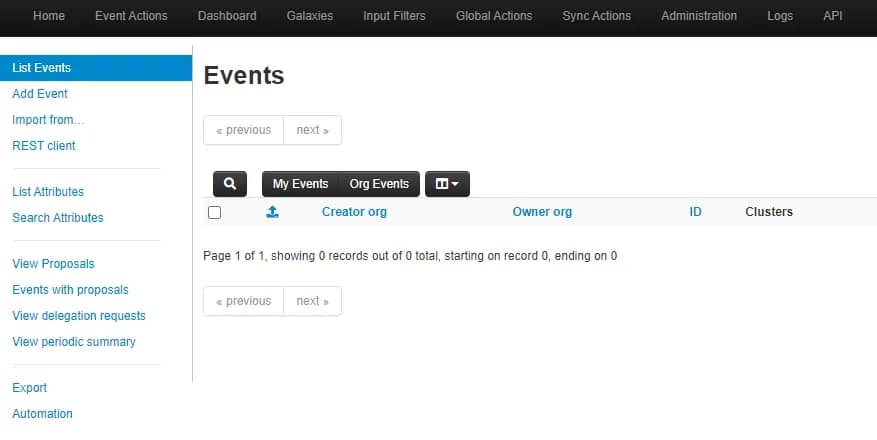
2. Not much going on…yet!
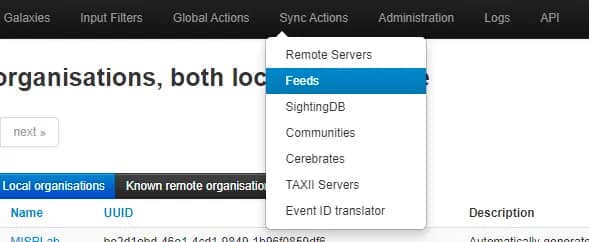
3. Click on Sync Actions and then Feeds
4. Click the Load default feed metadata button to load all the default feeds. This will populate the Feeds screen with all the default threat intelligence feeds that come built into MISP.
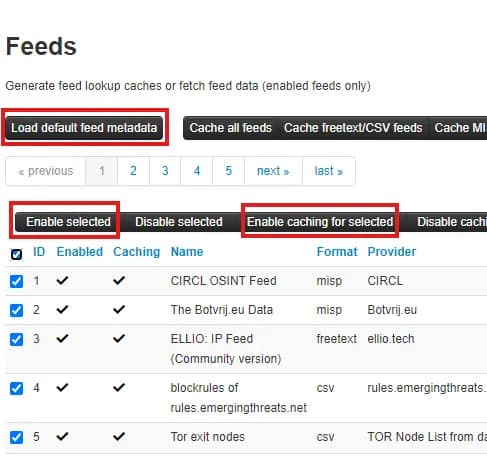
5. Next click the checkbox next to ID (this will select all the rows on that page). Click Enable Caching for Selected button followed by Enable Selected. (You have to do this page by page unfortunately!)
6. Once complete, click Cache all feeds, then Fetch at store all feed data.

7. Under Administration → Jobs you can monitor the progress
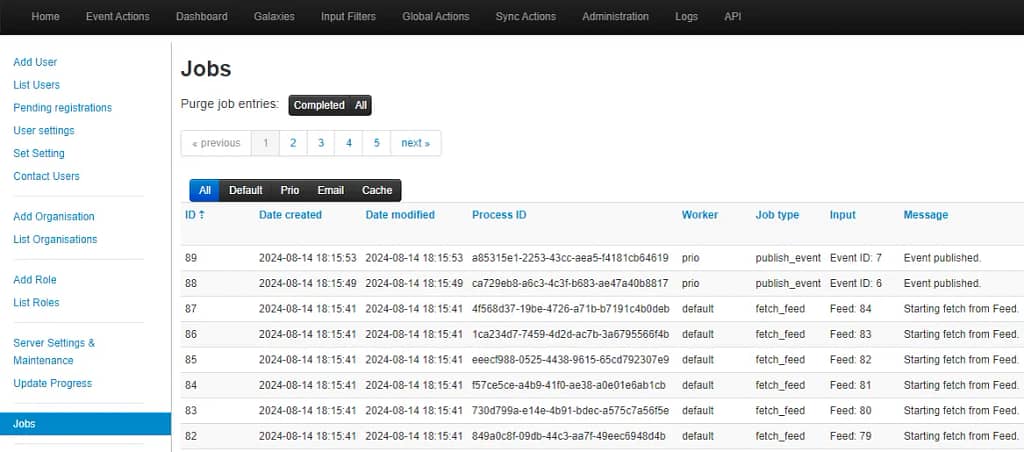
8. You should now see events populating.
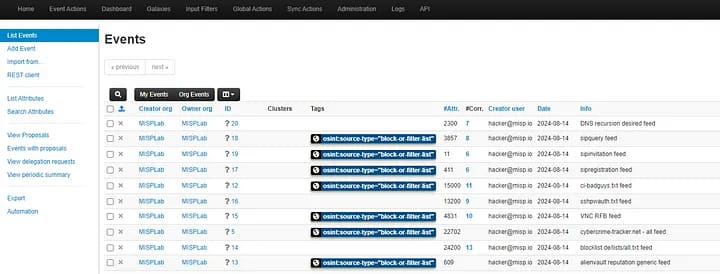
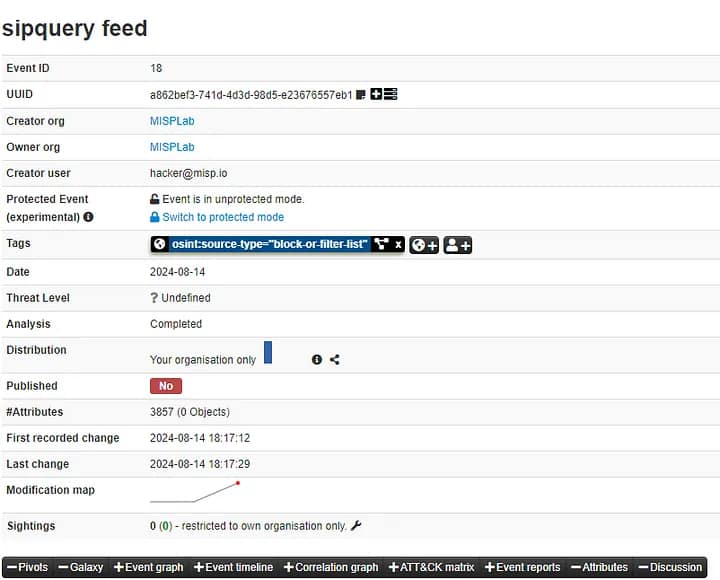
9. If you click on the ID number in the ID column, it will take you to more information about the event.
Final Thoughts
MISP is a fantastic platform for getting started in the threat intel world. It differs to OpenCTI, in that it is built to be a middle layer between the threat intel source and your other security tooling. You can use MISP to populate data in your SIEM, OpenCTI platform and SOAR platforms for the best results.
Open Source threat intelligence is not a replacement for proprietary threat intel from vendors like Recorded Future, but it can certainly augment existing solutions and help identify threats sooner, rather than later!
